
Artwork
Preparing a photo for wood engraving
Choose a clear original, simplify the background and review the tonal preview before the workshop test.
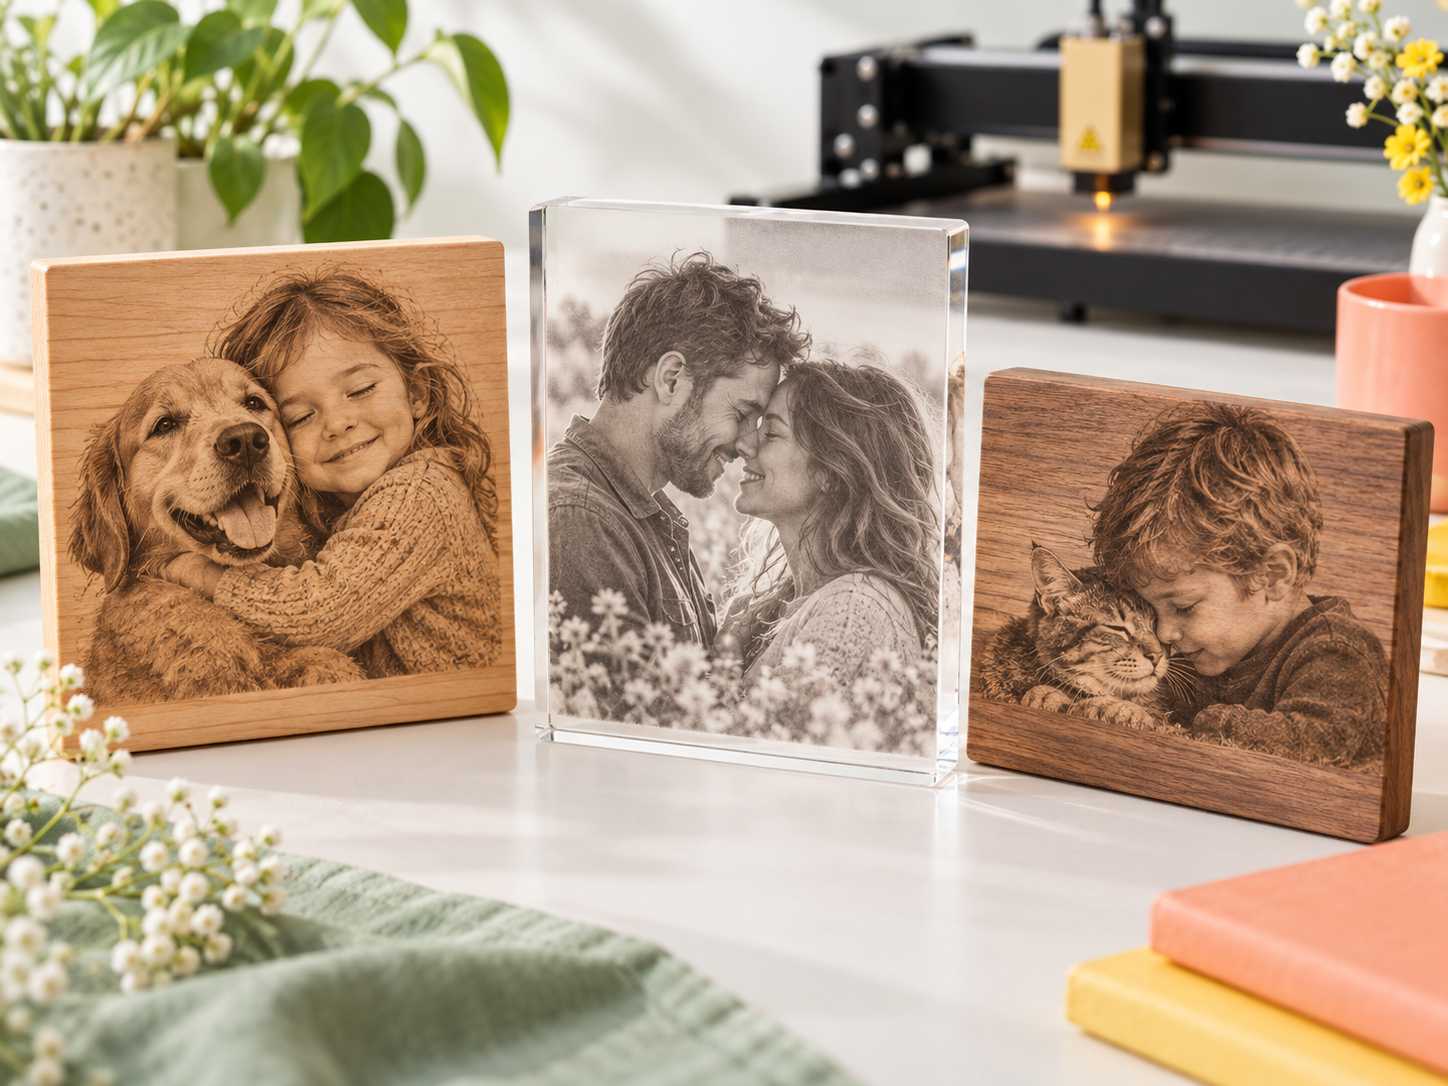
Start with the original
Upload the original photo rather than a screenshot or a compressed messaging preview. Faces should be sharply focused, with detail visible in both highlights and shadows. A larger file alone does not guarantee a sharper engraving.
Build a readable composition
A close portrait often works better than a small subject in a busy scene. Crop with space around the face and avoid placing important details against similar tones. Black-and-white preparation helps you judge contrast, but the material grain will still influence the finished piece.
Review the processed preview
Sign in with a verified email to open the design studio. Compare the original and processed image at the intended size. A dithered preview represents a dot pattern, not a guarantee of the final burn shade. The workshop must test the selected material before committing to the production settings.
Confirm before production
The team confirms plaque size, material, finish and artwork. Manufacturing files are restricted to authorised production staff. The public preview is not a ready-to-run machine programme.
Start a custom design